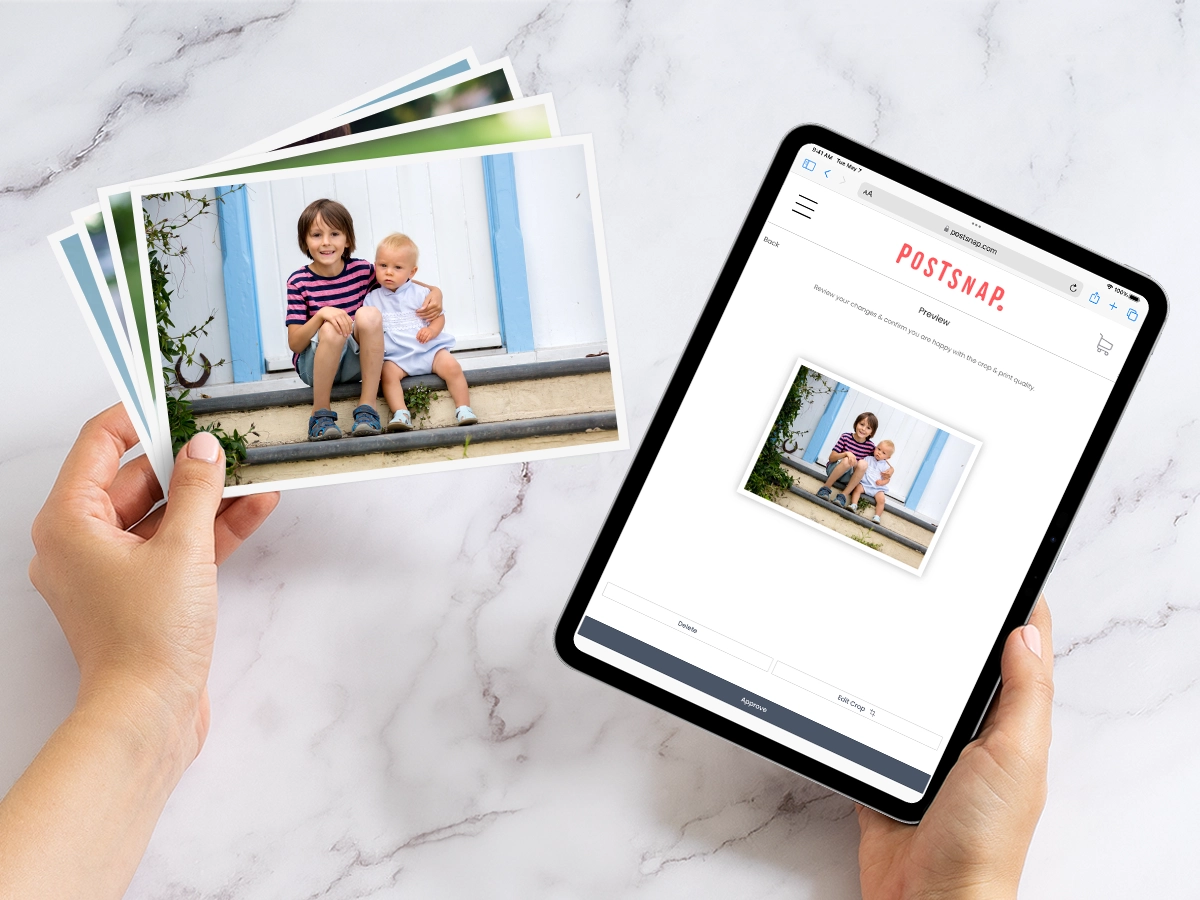
Preserving memories has never been easier in today’s digital world, with DSLR cameras, mobile phones, GoPros, and iPads being just some of the ways to capture images on the go. However, the ease of taking images can lead to digital clutter, and we believe there’s nothing more special than getting your images professionally printed so you can cherish them for years to come.
There are a number of ways to print photos from an iPhone from using your own home printer, visiting a high street shop or having your digital photos printed by an online photo printing service.
In this guide, we’ll walk you through how to print photos directly from an iPad.
Can You Print from an iPad?
Yes, you can print photos from an iPad in just a few clicks, either at home or by using an
online service. Our streamlined process allows you to select your favourite images directly
from your iPad, ensuring a hassle-free experience from start to finish.
With just a few taps, you can choose the size, style, and finish of your prints, and we’ll handle the rest.
Printing Photos Directly from iPad with AirPrint
AirPrint has revolutionised the way we print photos wirelessly from our devices, including iPads. This convenient feature allows users to send their images directly to compatible printers without the need for complex setups or additional software. To print using AirPrint, simply:
- Open the app you’d like to print from
- Tap the share or action button
- Scroll to the print button (not all apps support AirPrint so be sure to check the app’s information guide if you’re struggling)
- Select an Air-Print enabled printer
- Select the number of copies you want
- Tap print in the top right-hand corner
However, while AirPrint offers a quick solution for printing at home, online printing services like Post Snap provide a superior alternative for those seeking professional quality. With Post Snap, you can easily upload your photos online, select your preferred print options, and have stunning prints delivered straight to your door. Not only is it convenient but also provides the highest quality that truly showcases your cherished memories.
How to Order Prints from iPad Photos

Step 1: Select your photo type
The first step is to choose the type of photo you’d like. PostSnap provides a variety of print sizes, ranging from the widely popular 6x4 photo prints to larger formats such as 10x8 and A3 prints. Not only do we offer classic sizes, we also provide a number of unique prints that will really make your images stand out from the crowd, including mini prints, retro prints and locket prints.

Step 2: Upload your images
Launch our website or app on your iPad and head to the section for uploading photos. Browse your iPad’s photo library to select the images you wish to print. You can choose to upload either a single photo or multiple images if you have several you’d like to print at once. For optimal performance, we recommend uploading no more than 200 photos at a time.
Top tip: Organise the photos you want to print in an album in your iPad photo library first. This will make it easier to find and upload the photos you would like to print later on.

Step 3: Edit and customise your prints
Depending on the type of photo print you’ve selected, you can add a variety of custom touches to really make your images stand out. Adjust the crop, choose between glossy or matte finishes, add coloured borders and text, or convert your colour photos to black and white - the possibilities are endless. Make the most of these features to ensure your printed photographs appear their best.
We recommend you check your images beforehand to ensure they’re suitable for the aspect ratio of the print you have chosen, otherwise there may be some distortion or pixilation if the image isn’t high enough quality.

Step 4: Choose your quantity
Once you’ve chosen and edited your images, you can choose how many of each you’d like to print.

Step 5: Preview and approve your prints
Take a final look through your photo to ensure that everything looks the way you want it. Ensure the crop is correct, any text is spelt correctly, colours are as you want them to be, as these mistakes cannot be corrected.

Step 6: Enter your details at check out and await your delivery
Either sign up to our website (if you wish to make checkout faster in the future) or use our guest checkout option. Enter all the relevant information, such as your name and address, and pay for your fantastic prints. Once payment has been taken, sit back and relax as your prints are processed and prepared!
Best Practices for High-Quality iPad Photo Prints
Selecting and editing your photos before printing is essential for achieving the best possible print quality. Here are some tips to guide you in choosing and preparing your images for printing:
Choose the Right Resolution: Opt for higher-resolution images to ensure better print quality. When selecting photos, aim for a resolution of at least 300 pixels per inch (PPI) to prevent pixelation and maintain sharpness in your prints.
Consider Lighting and Composition: Select photos that are well-exposed, with balanced lighting and strong composition. Pay attention to details like shadows, highlights, and overall contrast. Adjusting these elements beforehand can significantly enhance the visual impact of your prints.
Crop and Resize: Before printing, think about cropping and resizing your photos to match the desired print size and aspect ratio. This helps remove unwanted elements, highlights the main subject, and ensures the best composition for the final print.
Test Prints: If you’re uncertain about how your photos will translate to print, consider ordering test prints or printing on a smaller scale first. This allows you to evaluate the colours, sharpness, and overall quality before committing to larger prints.
Explore Paper Types: The choice of paper can greatly influence the quality of your printed image. Different paper types, such as glossy or matte, can enhance colours, contrast, and texture, allowing you to achieve the desired effect for your prints.
Conclusion
Printing photos from your iPad is a straightforward process that allows you to easily transform your digital memories into beautiful physical prints.
You can use AirPrint for wireless printing directly to compatible printers, or take advantage of high-quality online printing services like PostSnap. Simply upload your selected images from your photo library, choose your desired print size and options, and place your order—all from the convenience of your iPad.
We encourage you to explore PostSnap’s services for an effortless and high-quality printing experience. With a range of print options and easy-to-use tools, you can ensure that your cherished memories are beautifully captured and preserved. Try it out today and see how easy it is to bring your favourite photos to life!


.webp)


